Contrary to popular belief, bolting on the brightest LED headlight is not the key to surviving a British winter on two wheels.
- Effective visibility is a ‘conspicuity system’, not a single, powerful bulb.
- Managing your vehicle’s ‘energy budget’ is as crucial as lumen output, especially for electric scooters and bikes with heated accessories.
Recommendation: Focus on creating a unique ‘visual signature’ that cuts through rain and fog, making you instantly recognisable to other road users.
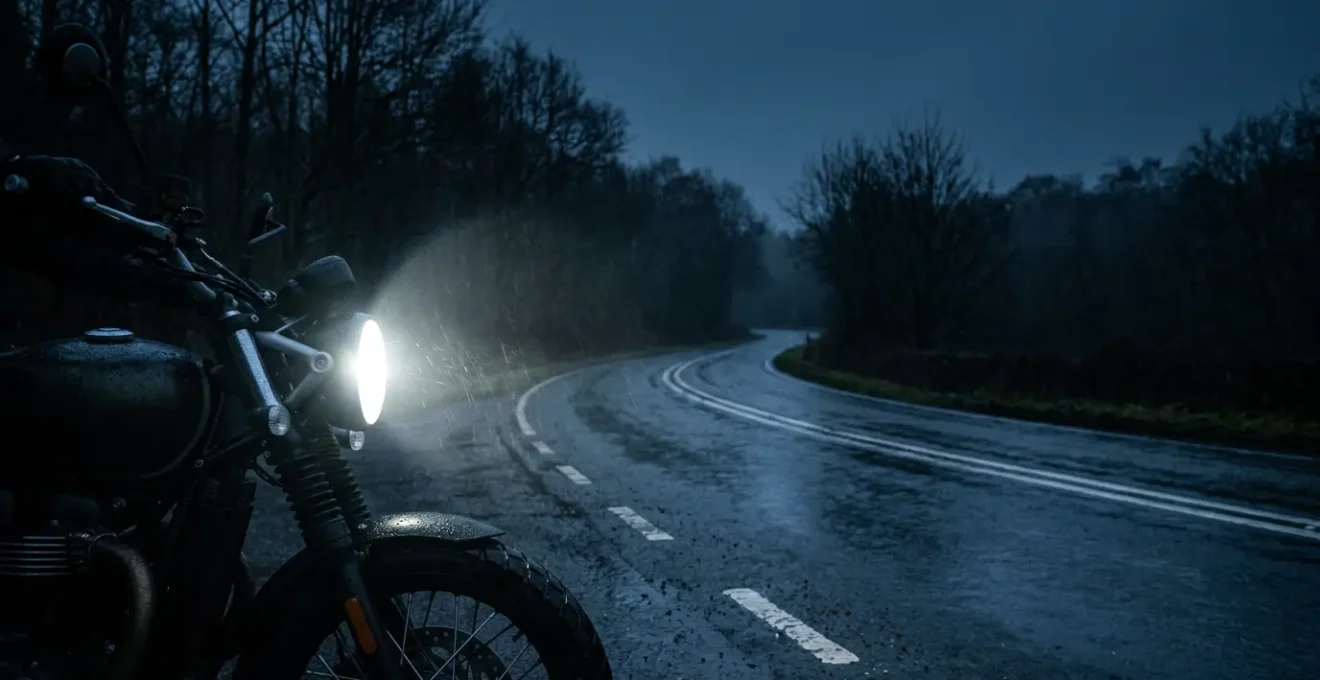
The sun sets before the workday is over, the roads are slick with a constant film of rain, and every car seems to be piloted by a driver squinting through a fogged-up windscreen. This is the reality of winter riding in the UK. For motorcyclists and mobility scooter users, the concern isn’t just about seeing the road ahead; it’s about the desperate need to be seen. The common advice is to simply « get brighter lights » or upgrade to LEDs. While a good starting point, this advice barely scratches the surface of a much more complex problem.
True winter visibility isn’t just a battle of raw brightness. It’s a strategic engagement with physics, human psychology, and your vehicle’s electrical limits. Thinking that a single, powerful headlight will solve all your problems is like thinking a single, loud horn will prevent all accidents. The real key to safety lies in building a complete ‘conspicuity system’—a layered approach to lighting that creates an unmistakable visual signature. This system is designed to cut through the low-contrast gloom and defeat the dreaded « Sorry Mate, I Didn’t See You » (SMIDSY) phenomenon that plagues British junctions.
This guide moves beyond the simplistic advice. As a lighting technician, I’ll deconstruct the elements of an effective lighting strategy. We will explore the nuances of brightness and colour, the critical importance of power management, the legal framework you must operate within, and advanced techniques to ensure you’re visible from every angle. It’s time to stop thinking about a single light and start building a system that makes you unmissable.
To navigate this technical landscape, we will break down the essential components of a robust winter lighting strategy. The following sections will guide you through everything from the fundamental science of light to practical, road-legal upgrades.
Summary: Why Upgrading to LED Lights Is Essential for Winter Safety in Britain?
- Candlepower vs Lumens: How Bright Must Your Headlight Be for Road Use?
- LED vs Halogen: How Much Range Do You Save with Modern Bulbs?
- Front and Rear: The DVLA Requirements for Lights at Night
- Stick-on Lights: Are Bicycle LEDs a Legal Substitute for Integrated Lights?
- How to Change a Blown Bulb on Popular Mobility Scooter Models?
- Cable-Free Upgrades: Adding 500 Lumens Without Wiring
- Side Visibility: Where to Stick Tape to Avoid Junction Collisions?
- Beyond Stock Lights: Upgrading Lights and Reflectors for Maximum Safety
Candlepower vs Lumens: How Bright Must Your Headlight Be for Road Use?
When upgrading headlights, riders often fall into the « lumen trap, » chasing the highest number on the box. While lumens measure the total amount of light emitted, they don’t tell the whole story. For winter riding on dark, wet British roads, two other factors are arguably more important: beam pattern and colour temperature. A well-designed reflector or projector housing is crucial; it focuses the light into a sharp, legally compliant beam pattern with a clean cut-off. This prevents dazzling oncoming traffic—a major safety hazard—and concentrates the light where you need it: on the road surface.
Colour temperature, measured in Kelvin (K), is the real game-changer for winter visibility. Halogen bulbs typically burn at a warm, yellowish 3,200K. Modern LEDs, however, operate in the 5,500K to 6,000K range, producing a crisp, white light that is much closer to natural daylight. This cooler light significantly improves contrast perception. On a rain-slicked black road, a 6,000K light makes potholes, road markings, and roadside debris stand out far more clearly than a yellow-tinged halogen. This enhanced contrast doesn’t just help you see; it helps other drivers’ brains register you as a distinct object against a visually noisy background.
So, how bright is enough? Instead of focusing solely on peak lumens, look for a road-legal LED upgrade that offers a precise beam pattern and a colour temperature in the daylight range. A 2,000-lumen bulb with excellent optics and colour rendering is infinitely more effective and safer than a poorly focused 4,000-lumen « dazzler » that scatters light everywhere.
LED vs Halogen: How Much Range Do You Save with Modern Bulbs?
For any rider, but especially for those on electric mobility scooters or motorcycles laden with winter accessories, every watt counts. This is where the efficiency of LED technology provides a massive safety and performance advantage. A traditional halogen headlight is essentially a controlled fire in a bottle, converting a huge portion of its energy into waste heat. An LED (Light Emitting Diode), by contrast, is a semiconductor that produces light with incredible efficiency. The difference is not trivial; research on LED efficiency shows a reduction in power consumption of 60-80% compared to a halogen bulb of equivalent brightness.
This saving creates a significant surplus in your vehicle’s « energy budget. » On a petrol motorcycle, this means the alternator is under less strain, leaving more electrical headroom for power-hungry winter essentials like heated grips, heated clothing, or a GPS unit. This reduces the risk of a drained battery on a cold morning. For an electric mobility scooter, the impact is even more direct: reducing the power draw of your lights directly translates to increased effective range—a critical factor when cold temperatures are already diminishing battery performance. Swapping to LED can mean the difference between getting home safely and being stranded with a dead battery.
Case Study: Reducing Electrical System Strain
Custom motorcycle experts document that LED upgrades significantly reduce strain on older motorcycle electrical systems. The reduced power draw means the alternator works less intensively, potentially leaving more power available for heated grips, phone charging, or other accessories—particularly critical for winter riding when battery efficiency naturally drops in cold conditions.
Ultimately, upgrading to LEDs isn’t just about light output. It’s a strategic move to optimize your entire electrical system for the harsh demands of winter, enhancing both safety and reliability.
Front and Rear: The DVLA Requirements for Lights at Night
Navigating the world of aftermarket lighting can be confusing, but in the UK, the law provides a clear, non-negotiable baseline. All lighting fitted to a road-going vehicle, including motorcycles and Class 3 mobility scooters, must comply with The Road Vehicles Lighting Regulations 1989 and its subsequent amendments. This legislation dictates the position, colour, and performance of every required light, from your main headlight and tail light to your indicators and number plate illumination. For any rider, this means that simply grabbing the brightest bulb off the internet is a risky strategy that could lead to an MOT failure or being stopped by the police.
The single most important mark to look for on any replacement bulb or light unit is the « E-mark. » This is a circle or rectangle containing a letter ‘E’ followed by a number, which certifies that the product has been tested and approved for use in Europe (and is recognised in the UK). An E-marked bulb guarantees that its beam pattern, brightness, and colour meet the stringent legal requirements. Using a non-E-marked bulb, especially in your main headlight, is illegal and dangerous, as it will almost certainly produce a scattered, glaring beam that dazzles other road users.
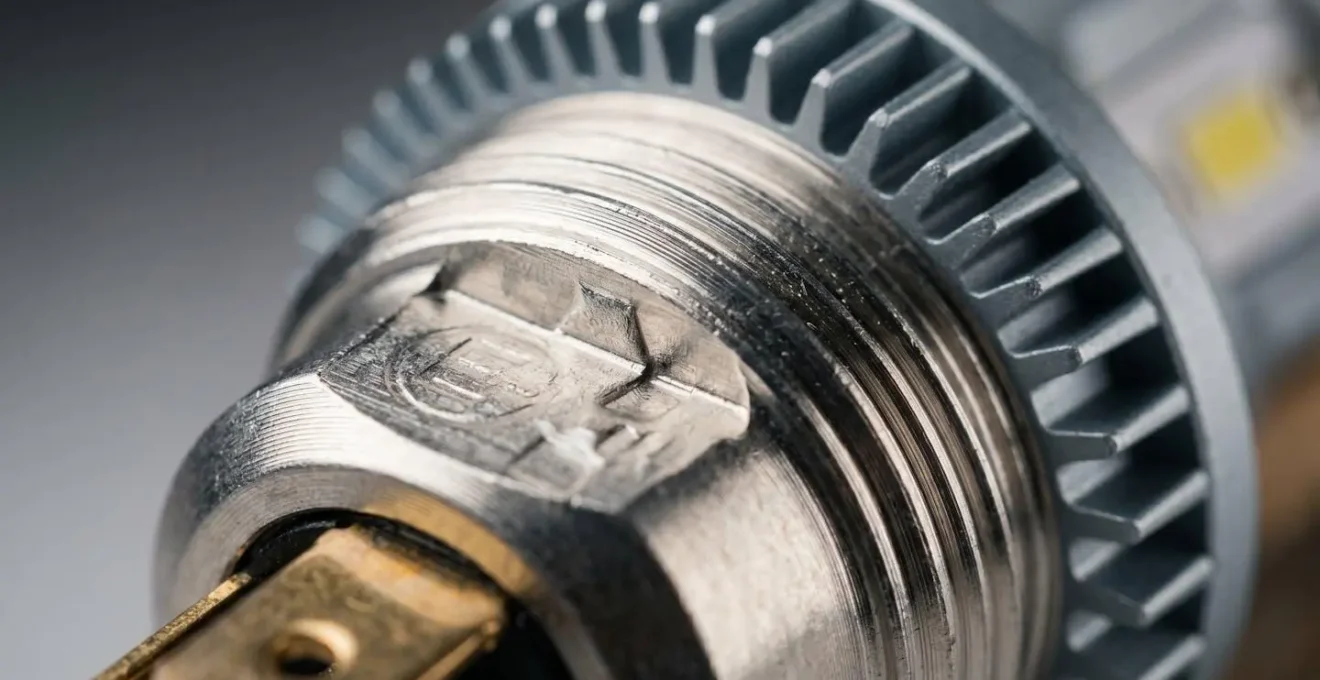
As the image above illustrates, the certification is a physical mark on the product itself. Before purchasing any lighting upgrade, your first question should not be « how many lumens? » but « is it E-marked for my vehicle’s application? » This applies to headlights, tail lights, and even aftermarket indicators. Adhering to these regulations is the foundational step; it’s the legal minimum upon which you can build a more comprehensive safety system.
Stick-on Lights: Are Bicycle LEDs a Legal Substitute for Integrated Lights?
Let’s be unequivocally clear: stick-on or strap-on battery-powered lights, such as those designed for bicycles, are not a legal substitute for the required, E-marked, permanently-fitted lights on a motorcycle or mobility scooter. Your main headlight, tail light, and brake light must be the approved, vehicle-powered units. Using a bicycle light as your primary source of illumination at night is illegal and will fail an MOT.
However, when viewed as a *supplementary* part of your conspicuity system, these lights become powerful safety tools. Their value lies in their ability to leverage a scientific principle known as « biomotion. » Our brains are hard-wired to recognise the movement patterns of a human form. By placing small, flashing lights on moving parts of your body—like your helmet, jacket sleeves, or ankles—you transform from an anonymous point of light into an unmistakably human shape. This is far more effective at grabbing a driver’s attention than a single, brighter static light.
When light points are attached to major joints of the body, relative motions among the joints provide virtually immediate perception of the person in action.
– Cochrane systematic review, Interventions for increasing pedestrian and cyclist visibility
This isn’t just theory. Scientific research on biomotion principles demonstrates that lights placed on a cyclist’s ankles, despite having much lower intensity, made the rider significantly more conspicuous than lights placed on the static frame of the bicycle. Therefore, a small flashing red LED on the back of your helmet or white LEDs on your handguards aren’t replacing your main lights; they are adding a crucial layer of cognitive recognition to your visual signature, especially in complex urban environments.
How to Change a Blown Bulb on Popular Mobility Scooter Models?
A blown bulb is more than an inconvenience in winter; it’s a critical safety failure that renders you invisible. While the exact procedure for changing a bulb varies between models—from a simple twist-and-pull on a Pride Go-Go to removing part of the front shroud on a TGA Breeze—the technical principles of upgrading to LED remain universal. A successful upgrade is not just about physically fitting the bulb; it’s about ensuring electrical and optical compatibility. A botched installation can result in a light that is less effective than the original, or one that could even damage your vehicle’s electronics.
Before you even purchase a replacement, a technician’s approach involves a series of diagnostic checks. You must confirm the type of bulb fitting (e.g., H4, BA15S), the space available within the headlamp housing for the often larger LED cooling fan or heatsink, and the nature of your vehicle’s electrical system. For many modern scooters and motorcycles with CANbus systems, simply plugging in a low-draw LED can trigger a « bulb failure » warning on the dash. This requires the installation of a load resistor or a more sophisticated CANbus-ready LED unit to fool the system into thinking the old halogen is still there.
Most importantly, after installation, you must verify the beam pattern. Place the vehicle in front of a garage door or wall and check that the LED upgrade maintains the sharp, horizontal cut-off of the original beam. If the new bulb creates a scattered, blotchy pattern or a bright spot aimed at the sky, it is not correctly seated or is optically incompatible, and it will be a hazard to others. The following checklist outlines the professional process for a successful upgrade.
Your Action Plan: Pre-Upgrade Compatibility Check
- Verify Headlamp Assembly Type: Identify whether your scooter uses a sealed beam unit (requiring complete replacement) or a replaceable bulb socket system.
- Check Electrical Compatibility: LED bulbs draw significantly less current; older systems or those with CANbus may require load equalizers to prevent error codes.
- Test Beam Pattern After Installation: Ensure the LED upgrade maintains the proper cut-off line and doesn’t create excessive glare for oncoming traffic.
- Confirm MOT Compliance: Verify any aftermarket LED carries proper E-mark or UKCA certification for road-legal use in the UK.
Cable-Free Upgrades: Adding 500 Lumens Without Wiring
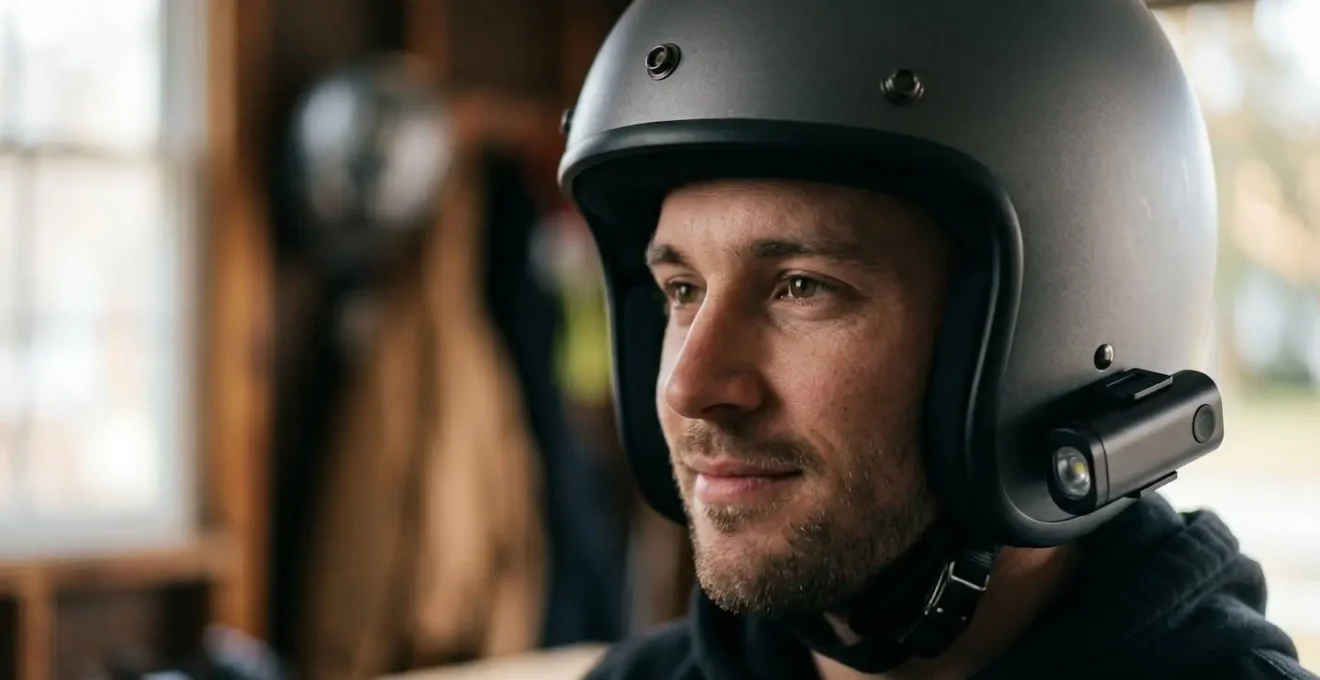
While upgrading your vehicle’s integrated lights is fundamental, the biggest leap in personal conspicuity often comes from high-level, cable-free lighting. Modern, rechargeable LED units designed for helmets or magnetic mounting offer a powerful, versatile, and easy-to-install way to add significant brightness exactly where it’s most effective. A light mounted on your helmet is a game-changer for three reasons: it’s at the eye-level of car drivers, it turns with your head so you can illuminate what you’re looking at (a key safety feature at junctions), and it adds to the biomotion effect, further defining your human silhouette.
When selecting a wireless unit, the specifications to focus on are lumens, battery life, and—critically for the UK—weatherproofing. A light’s resistance to water and dust is defined by its Ingress Protection (IP) rating. A rating of IPX4 might suffice for a dry summer evening, but it’s wholly inadequate for a drizzly November commute. For genuine all-weather reliability, you should look for a minimum rating of IPX6 (protection against powerful water jets) or, ideally, IPX7 (protection against temporary immersion). This ensures your investment won’t fail the first time you’re caught in a downpour.
The following table breaks down common IP ratings and their suitability for British winter conditions. Choosing a unit with an appropriate rating is a crucial part of building a resilient and reliable lighting system.
| IP Rating | Water Protection Level | Suitable for UK Winter Conditions |
|---|---|---|
| IPX4 | Splash resistant from any direction | Light rain, dry commutes only |
| IPX6 | Powerful water jets, heavy rain | Most winter commutes, not submersion |
| IPX7 | Immersion up to 1 metre for 30 minutes | Heavy rain, puddles, wet British winters |
| IP68 | Continuous submersion, dust-tight | All conditions including deep water crossings |
Side Visibility: Where to Stick Tape to Avoid Junction Collisions?
The most common and feared type of motorcycle accident in urban areas is the junction collision, the classic SMIDSY. A driver at a T-junction looks left, looks right, and pulls out directly into the path of an oncoming rider. In these scenarios, the rider’s forward-facing headlight is often not the primary factor. The critical issue is the lack of a clear side profile. From the driver’s perspective, a motorcycle or scooter approaching from the side can present as a thin, poorly defined, and slow-moving object that fails to register as an immediate hazard until it’s too late. Indeed, police collision reports consistently identify ‘failed to look properly’ as the most frequent contributory factor in these incidents.
This is where high-quality retro-reflective tape becomes a life-saving tool. Unlike lights, it requires no power and works by bouncing a car’s headlight beam directly back at the driver. The trick is to apply it strategically to create a recognizable side-on ‘visual signature’. The best locations are on moving or defining parts of the vehicle. Applying tape to the outer rim of your wheels creates two brilliant, spinning circles of light that are impossible to ignore. Strips on the lower front forks and the rear swingarm define the length and wheelbase of the vehicle, helping drivers correctly judge your size and speed.
For mobility scooters, applying reflective tape along the side of the main body and on the ’tiller’ or steering column helps to build a larger, more blocky shape. Use colours wisely: UK law is specific about colours, so stick to white tape for the front (e.g., on forks), red for the rear (e.g., on the back of panniers or the swingarm), and amber/yellow for the sides (e.g., wheel rims, side panels). This simple, low-cost upgrade dramatically increases your side-on conspicuity, directly tackling the root cause of the most dangerous urban collisions.
Key Takeaways
- Raw brightness is secondary; a precise, legal beam pattern and daylight-white colour temperature are what truly cut through winter gloom.
- LEDs are an energy-saving tool, freeing up your vehicle’s ‘energy budget’ for essential winter accessories like heated grips and reducing range anxiety.
- Supplementing stock lights with reflective materials and biomotion-enhancing LEDs is the most effective way to defeat the « looked but failed to see » danger at junctions.
Beyond Stock Lights: Upgrading Lights and Reflectors for Maximum Safety
We’ve deconstructed the individual components, but a true technician sees the bigger picture. Maximum winter safety isn’t achieved by fitting one magic part; it’s about layering these technologies to create a cohesive and robust « Conspicuity System. » Stock lighting is designed to meet minimum legal standards, not to provide optimal visibility in the worst conditions. Given that UK injury statistics reveal that serious collisions show a rise during colder months, relying on the bare minimum is a significant gamble. Your mission is to build layers of visibility that work together to make you unmissable from the front, rear, and, most critically, the sides.
Your upgraded, E-marked LED headlight with its crisp, white beam is your first layer. The second layer is your supplementary lighting: a helmet light that follows your gaze and biomotion lights that define you as human. The third layer is passive: strategically placed retro-reflective tape that uses other drivers’ lights to illuminate your entire side profile. When a driver approaches a junction, they don’t just see a single point of light; they see a bright central beam, a higher-level moving light, spinning reflective wheels, and a clearly defined vehicle shape. This layered signature is far quicker and easier for a distracted brain to process, dramatically reducing the chance of a misjudgment.
Case Study: The Real-World Safety Buffer
A rider on a large touring bike documented their experience after riding a loaner bike without their usual auxiliary LED lights. A delivery truck driver looked directly at them but still pulled out, forcing emergency braking. The rider immediately recognized that their powerful auxiliary LED lights, which they’d taken for granted, had likely been preventing countless similar incidents. This demonstrates how a comprehensive lighting system creates a measurable safety buffer in real-world British traffic conditions.
Think of it as defence in depth. If one layer fails or isn’t perfectly visible from a certain angle, the others are there to provide backup. This system-based approach is the most effective way to stack the odds in your favour and continue riding safely through the darkest days of the year.
Now that you are equipped with the technical knowledge, the next logical step is to perform a full audit of your current lighting setup and begin planning your strategic upgrades before the worst of the winter weather arrives.